Adding Google My Business to n8n Social Media Automation
Prerequisites
Before starting, ensure you have:
- Project owner access to your Google Cloud project
- Admin access to your Google My Business location
- n8n instance running with proper domain access
- Your existing social media automation workflow
Part 1: Request Google My Business API Access
Step 1: Request API Access (REQUIRED)
IMPORTANT: Google My Business API requires manual approval for production use.
- Go to the Google My Business API Prerequisites page
- Click “Request access to the Google Business Profile APIs”
- Fill out the access request form with:
- Email: vincexxxxxxxxks@gmail.com
- Company: xtream solutions
- Website: www.xtreamsolution.net
- Google Cloud Project ID: 3151xxxxxxxxx07888
- Project Number: [Your project number from Google Cloud]
- Google Maps Listing URL: [Your GMB listing URL]
- Business regions: North America
- Submit the form
- Wait for approval (can take 1-7 business days)
Note: Without this approval, you’ll get quota errors even with APIs enabled.
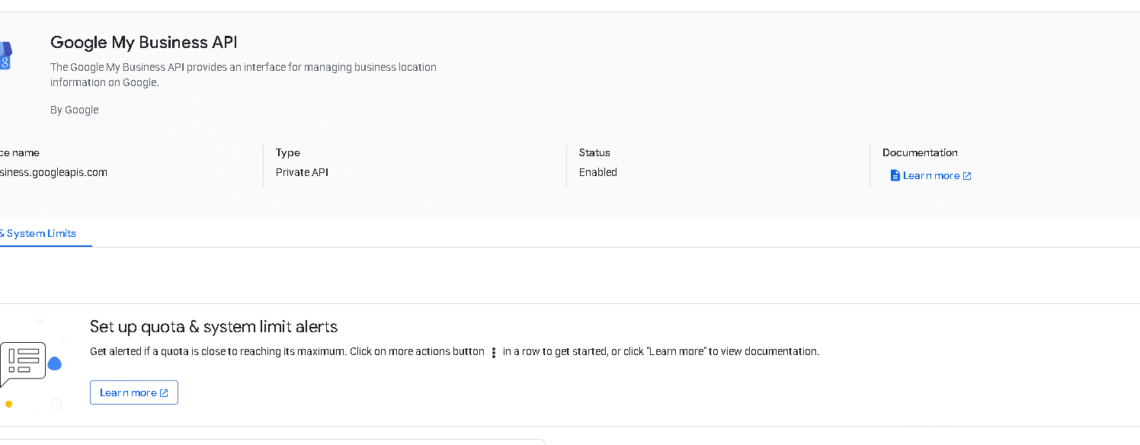
Step 2: Enable Required APIs
- Go to Google Cloud Console
- Select your project (ID: 31xxxxxx08)
- Navigate to APIs & Services > Library
- Search for and enable these APIs:
- Google My Business API
- Google My Business Business Information API
- Google My Business Business Calls API
- Wait 2-3 minutes for APIs to propagate
Important: Even with APIs enabled, you need the access request approved from Step 1.
Step 2: Create OAuth2 Credentials
- Go to APIs & Services > Credentials
- Click Create Credentials > OAuth 2.0 Client IDs
- Configure the OAuth client:
- Application type: Web application
- Name: “n8n GMB Integration”
- Authorized JavaScript origins:
https://your-n8n-domain.com - Authorized redirect URIs:
https://your-n8n-domain.com/rest/oauth2-credential/callback
- Click Create
- Copy and save the Client ID and Client Secret
Step 3: Find Your Project Number
- In Google Cloud Console, go to Home
- Look for the “Project Info” card
- Copy the Project Number (different from Project ID)
- Save this for later use
Part 2: Google My Business Setup
Step 4: Verify Business Location
- Go to Google My Business
- Select your business location
- Ensure location is verified and published
- Note your Account ID and Location ID from the URL structure
Step 5: Get Your Location Information
Use the n8n HTTP Request node to test access:
Method: GET
URL: https://mybusiness.googleapis.com/v4/accounts
Authentication: OAuth2 (configured in next step)
This will return your account structure including location IDs.
Part 3: n8n Configuration
Step 6: Create OAuth2 Credential
- In n8n, go to Settings > Credentials
- Click Add Credential > OAuth2 API
- Configure with these values:
Grant Type: Authorization Code
Authorization URL: https://accounts.google.com/o/oauth2/auth
Access Token URL: https://oauth2.googleapis.com/token
Client ID: [Your Client ID from Step 2]
Client Secret: [Your Client Secret from Step 2]
Scope: https://www.googleapis.com/auth/business.manage
- Save the credential
- Click Connect my account
- Complete Google’s authorization flow
- Grant all requested permissions
Step 7: Test API Connection
Create a test workflow to verify access:
{
  "parameters": {
    "method": "GET",
    "url": "https://mybusiness.googleapis.com/v4/accounts/xxxxxxxxxxxxxx/locations/xxxxxxxxxxxxxxxx",
    "authentication": "oAuth2",
    "sendHeaders": true,
    "headerParameters": {
      "parameters": [
        {
          "name": "Content-Type",
          "value": "application/json"
        }
      ]
    }
  },
  "name": "Test GMB Access",
  "type": "n8n-nodes-base.httpRequest",
  "credentials": {
    "oAuth2Api": {
      "id": "your-credential-id"
    }
  }
}
Part 4: Integrate with Existing Workflow
Step 8: Add GMB Caption Generator
Update your “Generate Social Media Captions” node to include GMB-specific content:
// Add this to your existing caption generation code
const gmbCaption = `🚀 ${articleTitle}

${articleSummary ? articleSummary.substring(0, 150) + '...\n\n' : ''}Stay ahead of the tech curve with expert insights from Xtream Solutions. We help local businesses leverage AI and automation for growth.

📖 Read our latest analysis: ${tinyWpUrl}
🎬 Watch the breakdown: ${tinyYtUrl}

Ready to transform your business with AI? Contact us for a free consultation!

#AI #TechNews #BusinessAutomation #LocalBusiness #DigitalTransformation #XtreamSolutions`;

// Add to return statement
return {
  // ... existing captions
  gmb_caption: gmbCaption,
  // ... rest of return object
};
Step 9: Create Google My Business Post Node
Add this node to your workflow:
{
  "parameters": {
    "method": "POST",
    "url": "https://mybusiness.googleapis.com/v4/accounts/XXXXXXXXXXXXXXX/locations/XXXXXXXXXXXXXX/localPosts",
    "authentication": "oAuth2",
    "sendHeaders": true,
    "headerParameters": {
      "parameters": [
        {
          "name": "Content-Type",
          "value": "application/json"
        }
      ]
    },
    "sendBody": true,
    "specifyBody": "json",
    "jsonBody": "={{ JSON.stringify({\n  \"languageCode\": \"en-US\",\n  \"summary\": $json.gmb_caption,\n  \"callToAction\": {\n    \"actionType\": \"LEARN_MORE\",\n    \"url\": $json.tiny_wp_url\n  },\n  \"media\": [\n    {\n      \"mediaFormat\": \"VIDEO\",\n      \"sourceUrl\": $json.blotato_video_url\n    }\n  ],\n  \"topicType\": \"STANDARD\"\n}) }}",
    "options": {}
  },
  "name": "Post to Google My Business",
  "type": "n8n-nodes-base.httpRequest",
  "position": [-32, 448],
  "credentials": {
    "oAuth2Api": {
      "id": "your-oauth2-credential-id"
    }
  }
}
Step 10: Update Aggregation Logic
Modify your “Aggregate Post Results” node:
// Update platform detection
results.forEach((result, index) => {
  let platformName;
  if (nodeName.includes('TikTok')) platformName = 'TikTok';
  else if (nodeName.includes('Instagram')) platformName = 'Instagram';
  else if (nodeName.includes('Twitter')) platformName = 'Twitter';
  else if (nodeName.includes('Facebook')) platformName = 'Facebook';
  else if (nodeName.includes('LinkedIn')) platformName = 'LinkedIn';
  else if (nodeName.includes('Threads')) platformName = 'Threads';
  else if (nodeName.includes('Google My Business')) platformName = 'Google My Business';
  else platformName = `Platform ${index + 1}`;

  // Check for different success patterns
  const isBlotoSuccess = result.json && result.json.postSubmissionId && !result.json.error;
  const isApiSuccess = result.json && !result.json.error &&
                      (result.statusCode === 200 || result.statusCode === 201);
  const isGmbSuccess = result.json && result.json.name; // GMB returns post name on success

  const isSuccess = isBlotoSuccess || isApiSuccess || isGmbSuccess;

  // ... rest of aggregation logic
});
Part 5: Testing and Troubleshooting
Step 11: Test Integration
- Start with simple post: Test with basic summary only
- Add call-to-action: Include your WordPress link
- Add media: Include video from Blotato
- Full integration: Run complete workflow
Common Issues and Solutions
“Quota exceeded” or “API not used before” (Even with APIs enabled)
- This means your API access request (Step 1) hasn’t been approved yet
- Google manually reviews all GMB API access requests
- Wait for approval email from Google (1-7 business days)
- Cannot proceed without this approval
“refreshToken is required”
- Re-authenticate your OAuth2 credential
- Ensure proper scopes are configured
- Complete full authorization flow
“Forbidden – perhaps check your credentials”
- Verify APIs are enabled in Google Cloud
- Check OAuth2 client configuration
- Ensure proper redirect URIs
“Resource not found”
- Verify your account ID and location ID
- Check that location is verified in GMB
- Test with GET request to list locations
“Insufficient permissions”
- Ensure you’re admin/owner of GMB location
- Check OAuth scope includes business.manage
- Verify location allows API posting
Step 12: Monitor and Optimize
- Check post success rates in your aggregation results
- Monitor GMB insights for engagement metrics
- Adjust captions based on performance
- Set up alerts for failed posts
Part 6: Maintenance
Regular Tasks
- Monthly: Review OAuth token expiry
- Quarterly: Check API quotas and usage
- As needed: Update captions based on performance
Security Best Practices
- Regularly rotate OAuth credentials
- Monitor API access logs
- Keep n8n and credentials updated
- Use least-privilege scopes
Conclusion
Your Google My Business integration is now complete. The workflow will automatically:
- Generate GMB-optimized captions
- Post to GMB alongside other platforms
- Track success/failure rates
- Send notifications via Slack
Test thoroughly in a staging environment before deploying to production. Monitor the first few automated posts to ensure proper functionality.
Leave a Reply